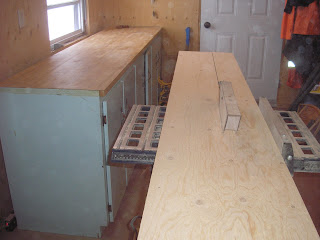
Oh, forgot to show you the saw horses that will be used to support the Strong Back once it is built.
Once the plywood was cut into the 5 1/2 wide pieces I cut one in half to make two four foot pieces, another two I cut into a 6 foot and a 2 foot piece. To get an 18 foot long strong back I first placed an eight foot piece of plywood, then another 8 foot piece butted up against it and finally a 2 foot piece butted against that one. Then I used glue and 2/3 inch screws to bond a 4 foot piece to the first 8 foot piece I referred to, then butted an 8 foot piece to that 4 foot piece, and then finally butted a 6 foot piece to that one. Once done, I had staggered joints along an 18 foot long doubled layered section of one of the sides of my strong back. Then I added a third layer on the first two, once again staggering the joints, but this time using 1 inch screws to held hold the glued plywood pieces together. That meant that once all three layers of one side of the strong back has been glued and screwed together, I had built a 1 1/2 x 5 1/2 (2 x 6) solid piece of planking. Make sure that as you glue and screw each piece in place that you make sure that it is flush on each side to ensure that the plank runs straight and true.
Here is a close up of the 2 foot piece of plywood that I staggered joined at the end of the 18 foot long section
.
Above is the 4 foot plywood piece that was glued first on the opposite end of the same 18 foot section.
As mentioned above I then glued and screwed a third layer to these, also making sure to stagger the joints.
Now have to do that one more time to get the second plank ready.


