Well It has been a few hours here and a few hours there and recently my great friend Daryl Pinksen visited and gave me a hand to lay up strips on the canoe. We both discussed with amazement at how much that we were able to bend and shape the strips against the forms. We did a great job working towards the top of the forms, but I did not shape the top of the stem forms narrow enough for the strips to lay flat enough and as we went I gradually took more and more of these forms off to get the strips to sit well. That was going well, but when we got to the top I was not pleased with how one strip was sitting and the damage we did to the strip we layed below it. In my frustration I removed the strip we just tried to put in place and then thought I could remove the stripe we had placed below it...bad idea, I made a minor cosmetic issue into a bigger cosmetic issue. We cut our loses and cut the strip and did a flat end to end join as best we could after we tried to clean out the cove to get it to sit in. I was disappointed at this point because we had did such a great job up to that point, but the fix up was ok. Have to remember that at the beginning of this project that the goal was to learn about woodworking and canoe building on this project and that mistake was a great learning opportunity, Once I get some epoxy on it later and some filler in place no one will notice the mistake except me.
Here are some pictures
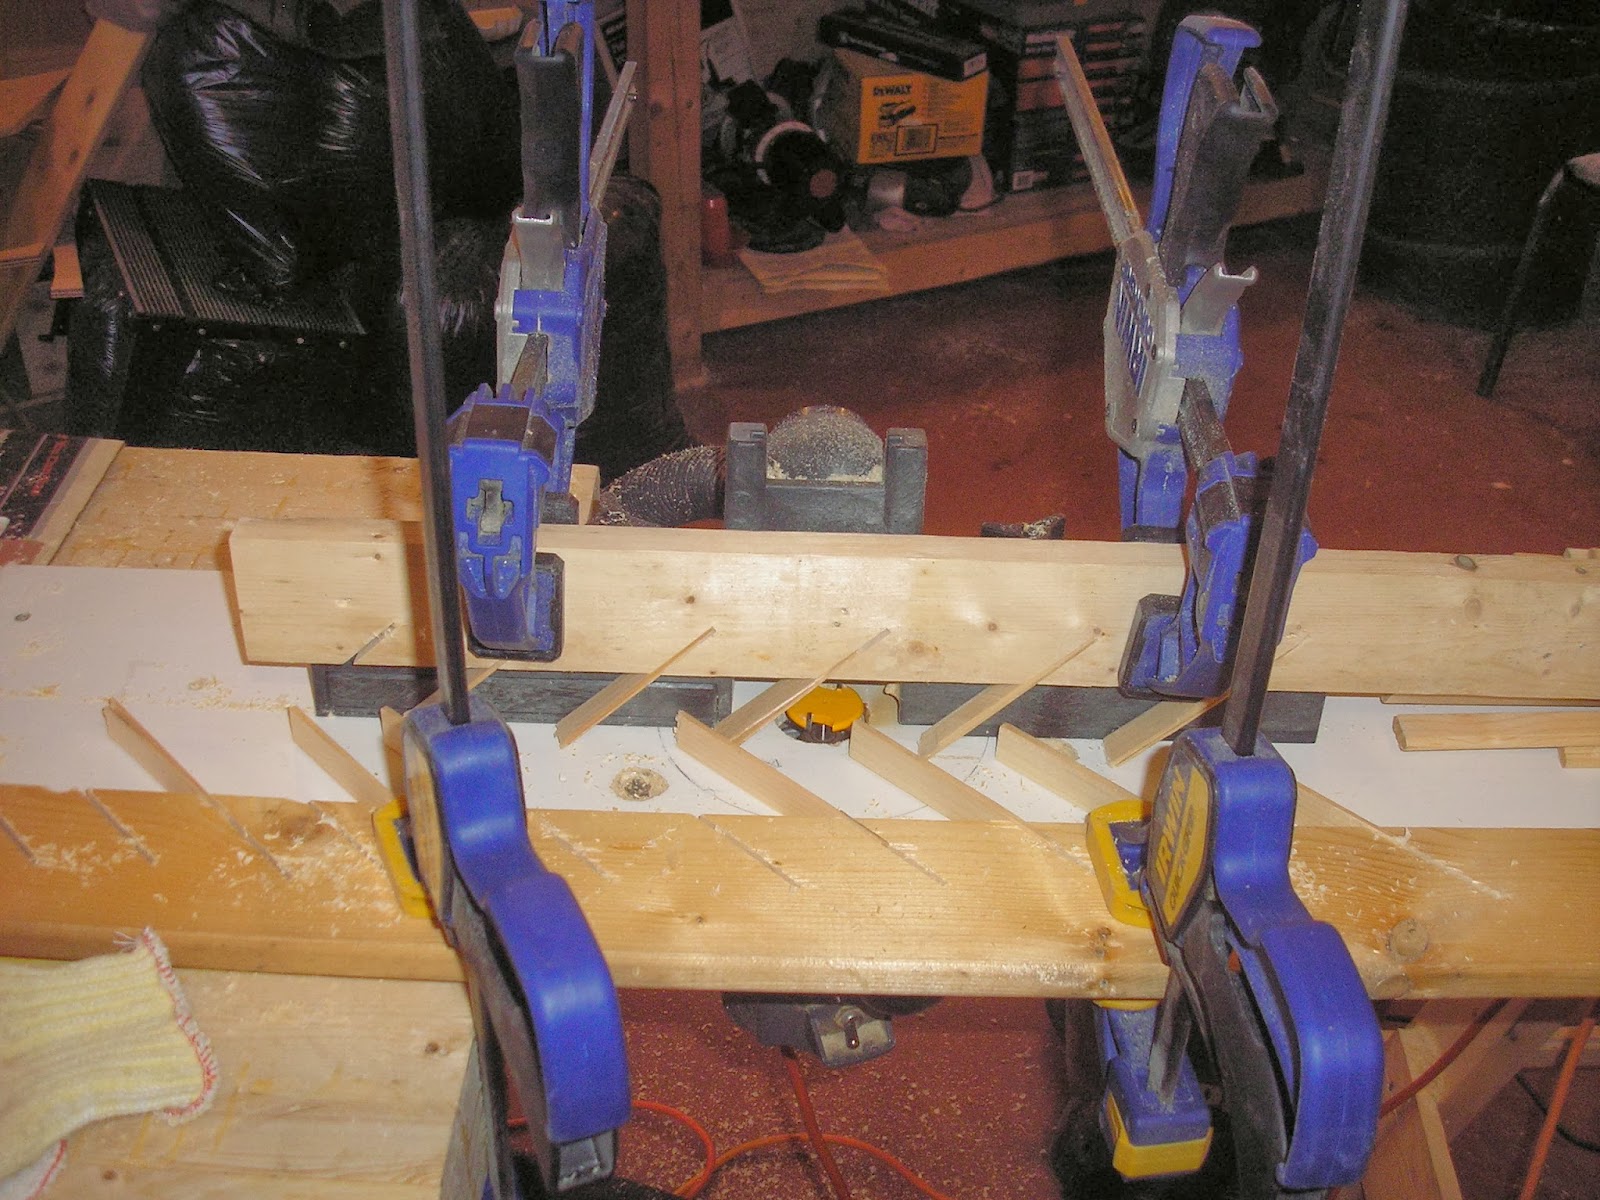
Above and below is Daryl, getting us ready to glue on another strip.
It is easy to see now in hindsight that the top of the stem is not bevelled enough before it was rounded over
You can see how the top strip on the right side above is not laying as it should and that it should be laying flatter. Recently I have pulled staples and screws in that area to try and get under the strips and take more off the stem form to correct this.
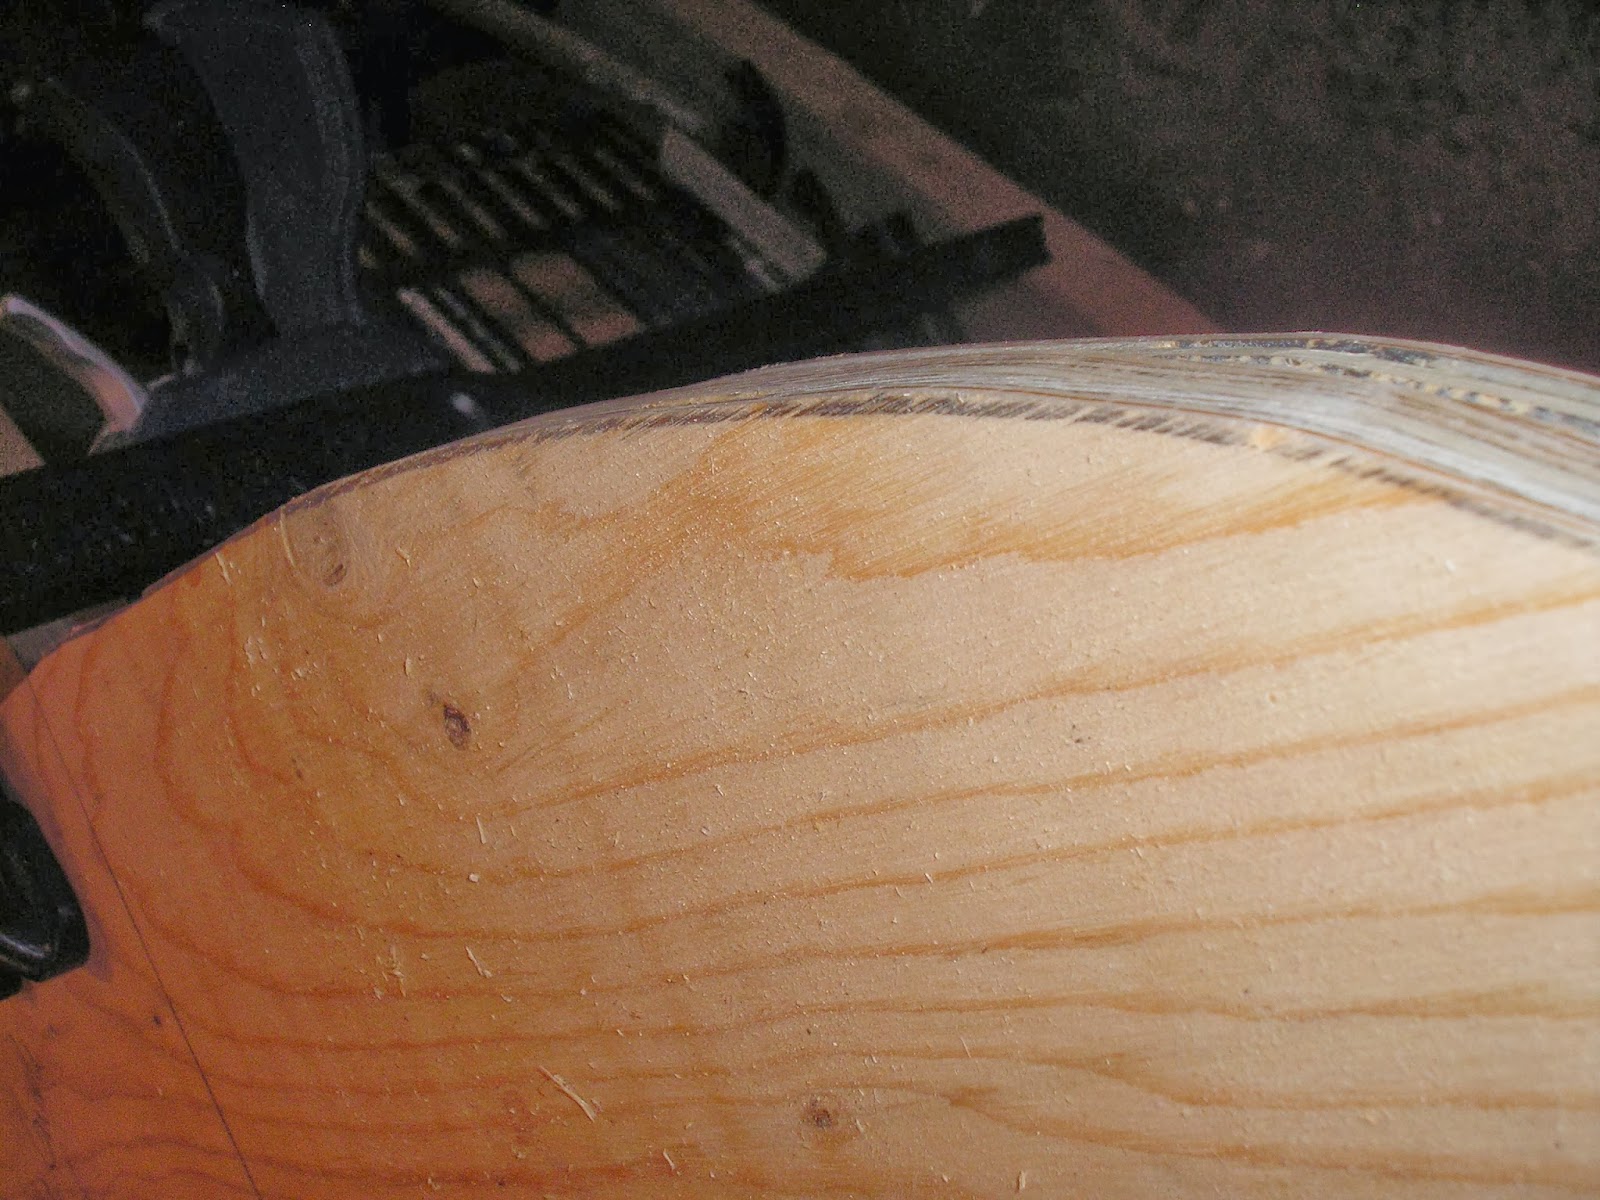
Below you can see where I tried to flat join two strips after not being able to remove it to replace it with another strip, just made a minor problem into a bigger problem, but this is not a deal breaker.
Above you can see better how the strips are not sitting flat enough and have created an uneven space between the strips. I am presently trying to get under the strips and chisel out some of the stem to get these strips to sit flatter to reduce this imperfection. Learned a valuable lesson here that the stem forms at the top need to be angled in before rounding over to allow a better uniformed fit. You can see this imperfection below as well.
Above you will notice that once the stem form issue is worked out that things should be ok and hopefully it will be unnoticeable.