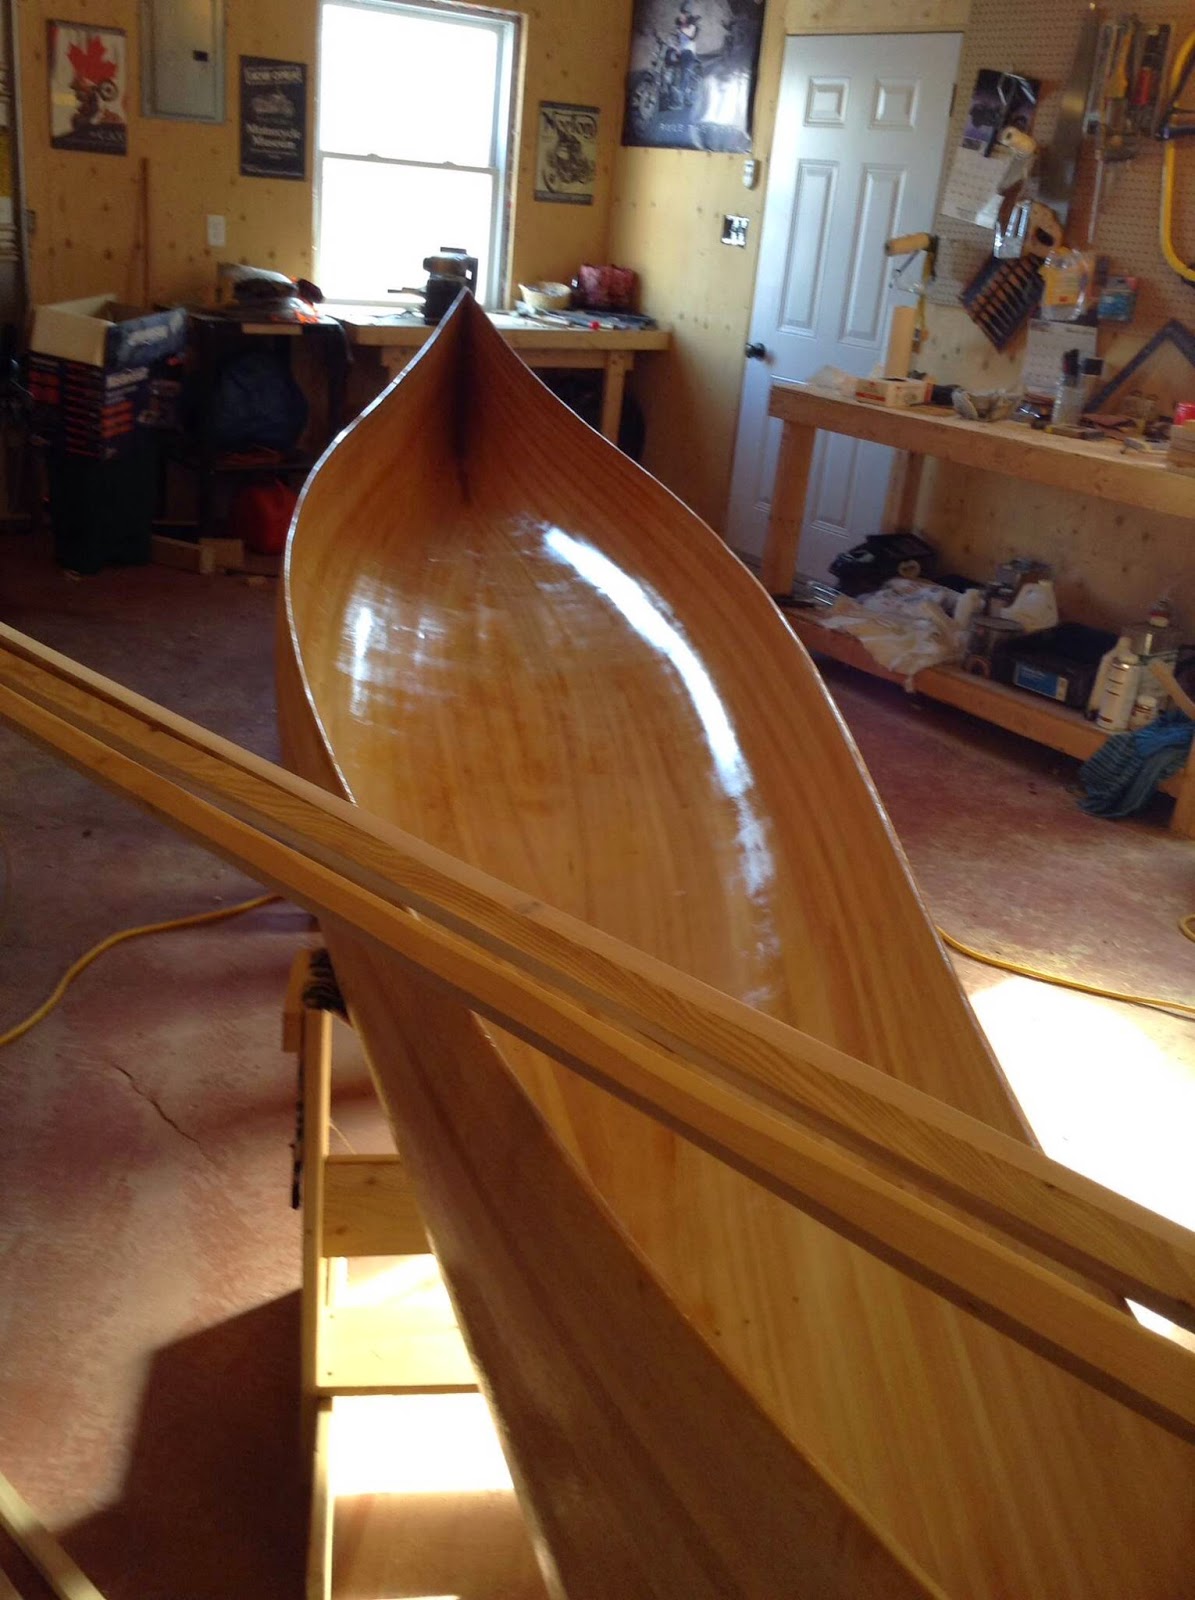
The decks have been installed and sanded off, below you will see the before and after photos. Then you will see that the canoe is starting to look like a canoe. Lately I have been working on the seats, and now after running out of juniper (larch) I am using some Birch that Tony gave me, may redo the yoke and spars in Birch too if I have enough. Getting closer each week, but still lots to do.
Monday, March 30, 2015
Thursday, March 26, 2015
Gunnels and stem decks
Well, I ripped the gunnels 1 by 3/4 and made a miter box to cut a 7 inch long splice cut. Then I spliced them together, I did this after making a full set of Gunnels but I did not like how they were cut and spliced so i redid them. The others turned out better, but I had some issues with knots in the juniper (larch), which I hope the epoxy glue will take care of.
Working by myself I came up i\with an idea of how to hold the inside gunnel with hand clamps and then slowly hold up the outside gunnel and using clamps I slowly clamped them in place, removing hand clamps as i went along. Using the pre-drilled holes in the inner stems I screwed the two gunnels together, making first an extra pilot hole through the hull and outer gunnel from the pre-drilled holes that I just mentioned in the inner gunnel. This was continued until I reached the stem, slowly moving clamps after an area was screwed on and re positioning them further along the canoe towards the gunnel.
Here are the stems, I had an 18 inch piece of juniper and I cross cut it diagonally, them flipped it and using a simple holding jig on the table I managed to resin glue a 1 1/2 inch piece of maple between it. I then trimmed the maple to a point and trimmed off the bottom end. Then the gunnels were marked on the stem form and were cut out using a hand saw, Eventually they were glued and screwed in place. Recently I began the sanding to clean them up. At the very bottom you can see a photo of the frames I have started for the seats, so far I only have the tendons cut, next the mortise.
Fiberglass the inside of the Hull
Well the Resin was wetted out into the cloth inside the hull and it turned out well, as expected the very tip of the stems was a little work to get at, but it was ok. It was not recommended, but I put a small piece of cloth and resin it in early in both stems, similar to how it was done on the exterior of the hull. Only two coats of resin on the inside of the hull to avoid it becoming too slippery.
The resin has since been sanded with 80 and 120 grit paper and we are ready to movee onto the wood work of the gunnels and yokes and seats.
The unsightly stems did not turn out too badly, acceptable for the first canoe.
Finally got back at the canoe...the inside
Well, life activities, minor aches and pains, and multiple other excuses have meant that canoe building has been put on hold for a while. When trying to clean up the inside stem areas I had become disillusioned with how I originally rounded the strips around the stem forms. As such, I decided to compensate for this by added some resin paste to this area when filling in the area in the tip of the stems to sure it up and add a little extra strength. The heat created from the curing of the resin resulted in some unsightly bubbling. Having walked away from the project for a while, a long while, I finally got the Dremel tool going and sanded it as best I could and hoped that the fiberglass and oversized stem decks would mask the unsightly blemish.
Subscribe to:
Comments (Atom)


